


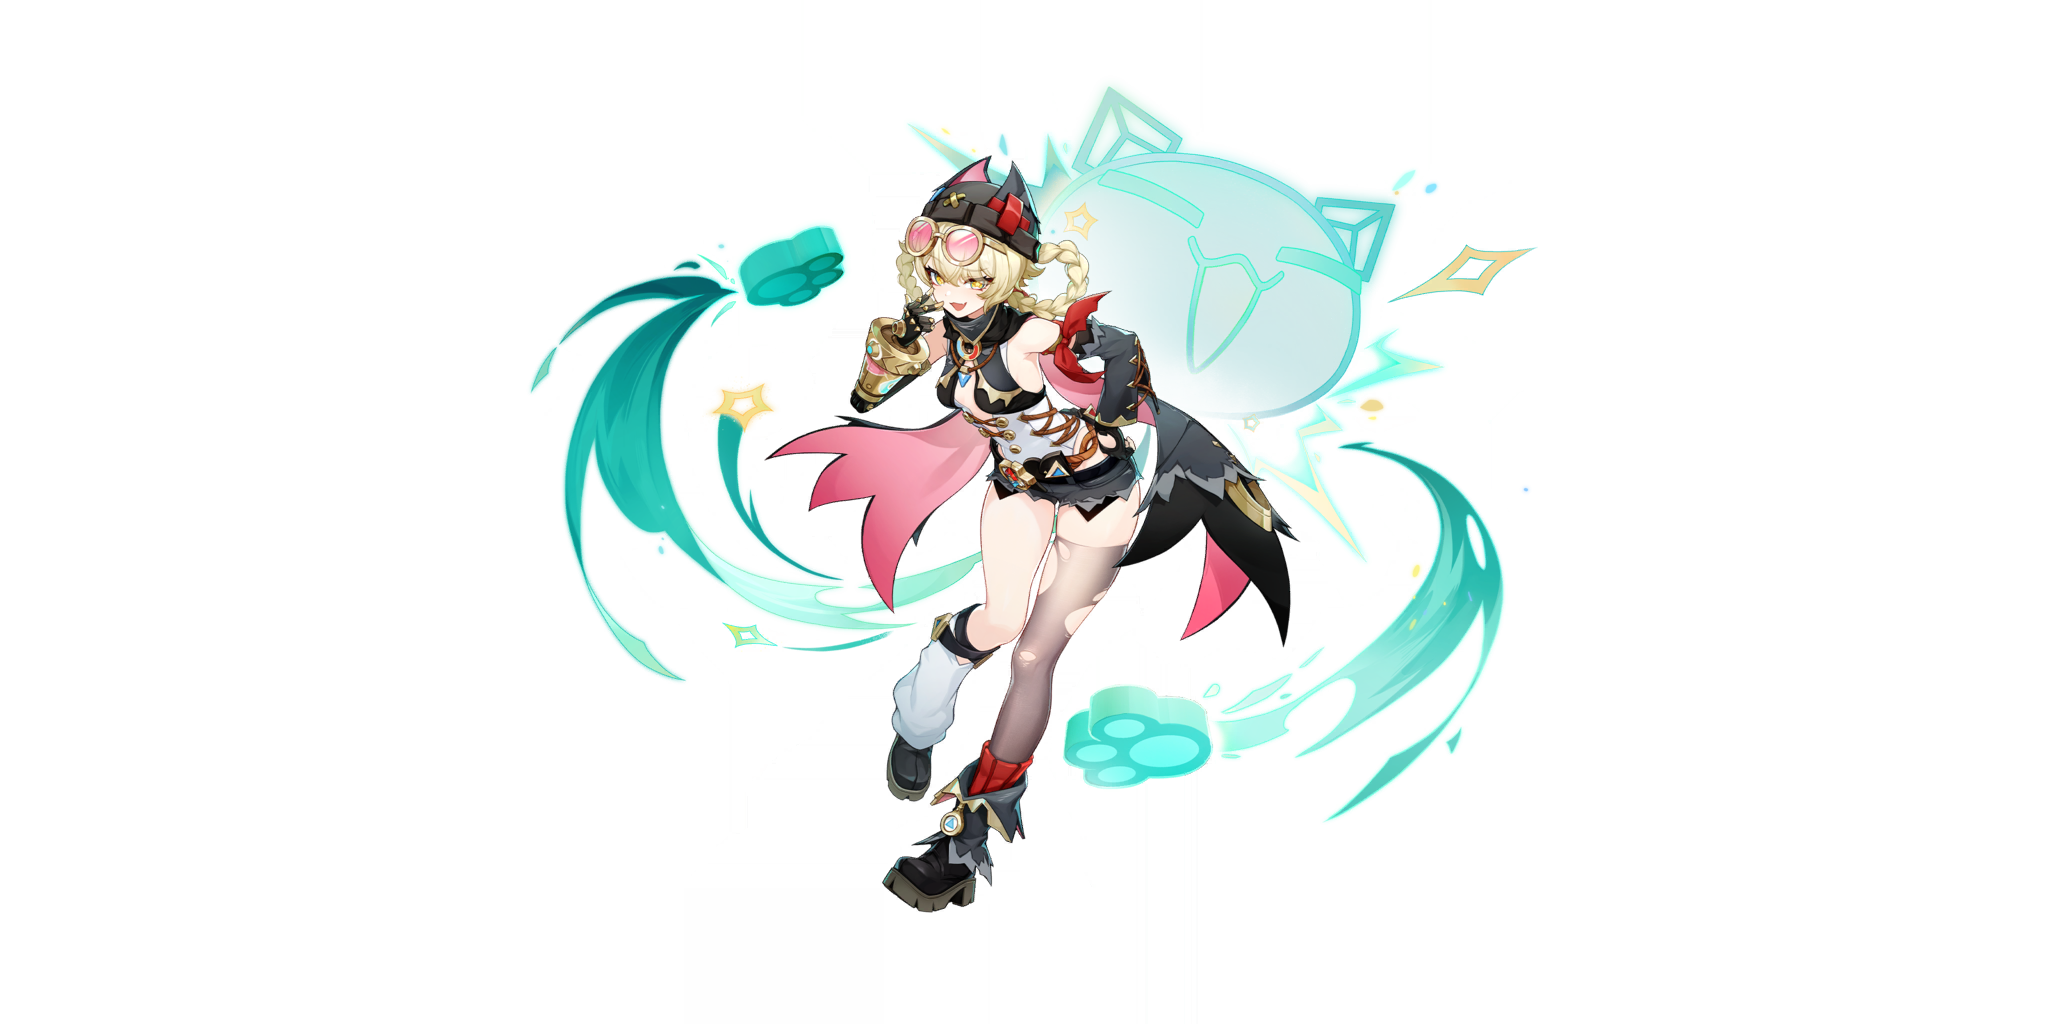
Profile
The Curatorium of Secrets' extremely reliable, do-it-all super employee (or so she claims).
Stats at level
Lv.- Base HP
- 9,646
- Base ATK
- 223
- Base DEF
- 580
- Healing Bonus
- 18.5%
Build patch 7.1, updated 10/4/2026
Anemo support and healer for Moonsign teams
Weapons
- 1
 Favonius Warbow ★★★★Best for the team: energy particles
- 2
 Elegy for the End ★★★★★5★, buffs the team
- 3
 Aqua Simulacra ★★★★★
- 4
 Sacrificial Bow ★★★★
- 5
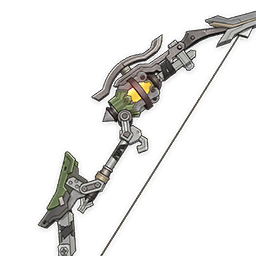 Snare Hook ★★★★Craftable
Artifacts
- 1
 Viridescent Venerer4-piece — best option
- 2
 Silken Moon's Serenade4-piece, in Lunar teams
- 3
 Golden Troupe4-piece
- 4
 Instructor4-piece, budget
In short: Jahoda is a 4★ Anemo support: she heals, gives Elemental Mastery and deals her enemies' elemental damage off-field. She works best in Moonsign teams: without Ascendant Gleam most of her damage disappears. Her healing scales with ATK and her Burst is expensive, so her key stats are ATK and Energy Recharge.
How she plays: her Skill, Savvy Strategy: Splitting the Spoils, is a dash toward an enemy, after which Jahoda zips around the field. If nearby enemies have Pyro, Hydro, Electro or Cryo, she fills her Purr-loined Treasure Flask with that element and then empties it in an Anemo hit. With Ascendant Gleam a full flask isn't emptied at once: Jahoda gradually spends it and fires Fluffy Meowballs that deal elemental damage. Her Burst, Hidden Aces: Seven Tools of the Hunter, summons two assistant robots that heal and attack enemies.
Team composition: her passive buffs the robots based on the most common element in the party: with Pyro they hit harder, with Hydro they heal more, with Electro there are three of them, with Cryo they attack more often. When the robots heal an active character above 70% HP, that character gets +100 Elemental Mastery. Jahoda herself raises the party's Moonsign level by 1.
Stats: Energy Recharge 180–200%, ATK 1800+, Elemental Mastery around 200.
Partners: her best teams are Lunar-Bloom with Nefer and Lauma and Lunar-Charged with Flins, Clorinde, Aino and Ineffa. In regular teams she works as a Swirl healer, for example in an Arlecchino team.
Constellations: C2 lets her track two party elements at once, C4 restores energy when the robots change element. C6 is the best: after her flask fills, Moonsign characters get +5% Crit Rate and +40% Crit DMG.
Weaknesses: nearly everything strong in her kit depends on Ascendant Gleam. Filling the flask takes field time, and knockback interrupts her Skill. She's good at a bit of everything but the best at nothing.
You can also check
- KeqingMains Quick Guide — KQMEN
Guides by other authors on other sites — in-depth breakdowns written by players.
Sources: Game8, genshin.guru. Texts are our own summary. Found a mistake in this build? · Improve this guide
Rotation
- Q
- E
- switch
Legend: E — Skill, E (hold) — hold Skill, Q — Burst, M1-M2-M3 — Normal Attack string, CA — Charged Attack.
Teams










Is it worth pulling team damage gain, gcsim simulation
How much the whole team's damage grows compared to C0 with Favonius Warbow (R5). Gains are cumulative: C2 includes C1.
If you pick one, the weapon gives more — and weapon banner pulls don't use up your character pity either.
How we calculated
The team comes from the open gcsim simulation database — the one closest to the teams in this guide. Only this character was changed: constellation and weapon. Teammates, artifact sets and rotation stay as in the original simulation; the whole team's substats are optimized to KQM standards separately for each weapon. C0 with Favonius Warbow: 144,388 damage per second.

The gain depends on the team and investment: treat it as a guideline, not an exact number for your account. Original simulation · gcsim 4eda9fc, 2026-10-17
Talents

Strike While the Arrow's Hot
Normal Attack Performs up to 3 consecutive shots with a bow. Charged Attack Performs a more precise Aimed Shot with increased DMG. While aiming, mighty winds will accumulate on the arrowhead. A fully charged wind arrow will deal Anemo DMG. Plunging Attack Fires off a shower of arrows in mid-air before falling and striking the ground, hitting opponents along the path and dealing AoE DMG upon impact.
Scaling
| 1-Hit DMG | 82.4% |
|---|---|
| 2-Hit DMG | 38.0%×2 |
| 3-Hit DMG | 101.2% |
| Aimed Shot | 86.7% |
| Fully-Charged Aimed Shot | 223% |
| Plunge DMG | 112.3% |
| Low/High Plunge DMG | 225%/281% |

Savvy Strategy: Splitting the Spoils
Jahoda dashes toward her opponent, entering the Shadow Pursuit state upon contact. While in this state, Jahoda moves continuously and swiftly: If nearby opponents are affected by Pyro, Hydro, Electro, or Cryo, she will quietly convert her **Purr-loined Treasure Flask** to that element, gradually filling it. When the duration ends or the skill is used again, Jahoda drains the Purr-loined Treasure Flask and deals a single instance of Anemo DMG to nearby opponents. When the Purr-loined Treasure Flask is full, Jahoda immediately drains it, exiting the Shadow Pursuit state and dealing a more powerful instance of Anemo DMG. If her dash fails to make contact with an opponent, Jahoda instead drops a Smoke Bomb at her location, dealing a single instance of Anemo DMG to nearby opponents. Moonsign: Ascendant Gleam: When the Purr-loined Treasure Flask becomes full, Jahoda will not immediately discharge it. Instead, for a short duration, she steadily consumes the stored element inside and periodically fires Fluffy Meowballs at nearby opponents, dealing DMG of the corresponding element stored in the Purr-loined Treasure Flask. When a Fluffy Meowball hits an opponent, Jahoda regenerates 2 Elemental Energy. This effect can be triggered once every 3.5s.
Scaling
| Smoke Bomb DMG | 286.2% |
|---|---|
| Unfilled Treasure Flask DMG | 343.4% |
| Filled Treasure Flask DMG | 381.6% |
| Treasure Flask Duration | 20.0s |
| Meowball DMG | 230.4% |
| CD | 15.0s |

Hidden Aces: Seven Tools of the Hunter
Time to reveal those pocket aces! Jahoda retrieves 2 **Purrsonal Coordinated Assistance Robots** and deals a single instance of Anemo DMG to nearby opponents.
Scaling
| Skill DMG | 373.0% |
|---|---|
| Purrsonal Coordinated Assistance Robot DMG | 31.1% |
| Purrsonal Coordinated Assistance Robot Duration | 12.0s |
| Purrsonal Coordinated Assistance Robot Healing | 143.8% ATK+1102 |
| Lowest HP Character Additional Healing | 55.3% ATK+424 |
| CD | 18.0s |
| Energy Cost | 70 |
Passive talents

Plan to Get Paid
When your team has at least one Pyro, Hydro, Electro, or Cryo character, the **Purrsonal Coordinated Assistance Robots** from the Elemental Burst Hidden Aces: Seven Tools of the Hunter will be enhanced based on the number of characters of each corresponding element. Jahoda secretly keeps track of these characters. Among them, the element with the highest number of characters determines the enhancement effect: · Pyro: Purrsonal Coordinated Assistance Robots deal 130% of their original DMG. · Hydro: Purrsonal Coordinated Assistance Robots heal for 120% of their original healing amount. · Electro: The number of Purrsonal Coordinated Assistance Robots increases by one. · Cryo: The attack interval of Purrsonal Coordinated Assistance Robots is reduced by 10%. If there's a tie between elements, the order of priority that determines which enhancement takes effect is: Pyro, Hydro, Electro, then Cryo. Only one elemental effect can initially be triggered.

Sweet Berry Bounty
When a **Purrsonal Coordinated Assistance Robot** from the Elemental Burst Hidden Aces: Seven Tools of the Hunter triggers healing on an active team member, if that character's HP is above 70%, their Elemental Mastery will be increased by 100 for 6s.

Moonsign Benediction: Rooftop Dash
When Jahoda is in the party, the party's Moonsign will increase by 1 level.

Backstreet Guile
When dispatched on an expedition in Nod-Krai, time consumed is reduced by 25%.
Constellations

One More Flask!
When a Fluffy Meowball fired by the **Purr-loined Treasure Flask** from the Elemental Skill Savvy Strategy: Splitting the Spoils hits an enemy, there is a 50% chance for it to bounce, dealing the corresponding Elemental DMG to nearby opponents.

Rogue's Quick Thinking
Moonsign: Ascendant Gleam: In the Ascension Talent **"Plan to Get Paid,"** Jahoda can secretly track, in addition to the element with the highest number of characters, the element with the next highest number of characters among the remaining types. This allows up to two elemental effects to be active at once. You must first unlock the Ascension Talent "Plan to Get Paid."

Desperate Gamble
Increases the Level of **Hidden Aces: Seven Tools of the Hunter** by 3. Maximum upgrade level is 15.

Wild Berry Amid the Dust
When a **Purrsonal Coordinated Assistance Robot** from the Elemental Burst Hidden Aces: Seven Tools of the Hunter undergoes an Elemental Conversion, Jahoda will recover 4 Elemental Energy.

The Greatest Treasure
Increases the Level of **Savvy Strategy: Splitting the Spoils** by 3. Maximum upgrade level is 15.

The Littlest Luck
Moonsign: Ascendant Gleam: After the **Purr-loined Treasure Flask** from the Elemental Skill Savvy Strategy: Splitting the Spoils is full, nearby Moonsign characters in your party have their CRIT Rate increased by 5% and CRIT DMG increased by 40% for 20s.