
Vodyanitsa
★★★★★HydroCatalyst
patch 7.1, updated 9/28/2026Support: enables Stellar Swirl, heals, shreds RES
Weapons
- 1
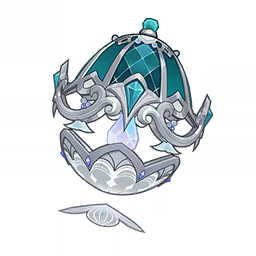 Hymn of the MaelstromSignature, on the 7.1 weapon banner
- 2
 Thrilling Tales of Dragon SlayersBest free option: HP plus a buff for the next character
- 3
 Everlasting Moonglow
- 4
 Jadefall's Splendor
- 5
 Prototype AmberCraftable, heals the team
Artifacts
- 1
 Tenacity of the Millelith4-piece — the team ATK buff is especially good with Stellar Swirl
- 2
 Tenacity of the Millelith + Vourukasha's Glow2 + 2 — easier to reach 65,000 HP
- 3
 Song of Days Past4-piece
Stats and talents
- Sands
- HP %
- Goblet
- HP %
- Circlet
- HP %
Substats: HP % > HP > Energy Recharge
Talent priority: Elemental Skill > Elemental Burst > Normal Attack
Teams
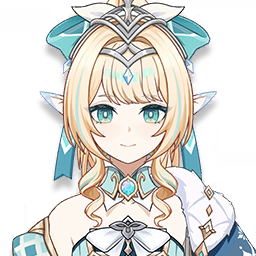
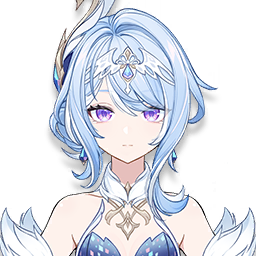
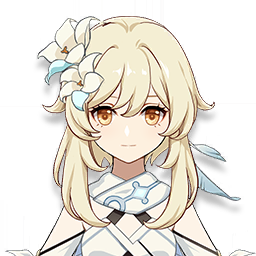
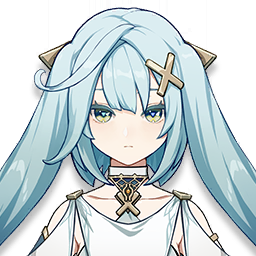
Stellar Swirl with Vodyanitsa and Faruzan
Stellar Swirl with Mizuki

Freeze



Lohen Freeze


Rotation
E → switch
Burst is optional: teams don't require it.
Detailed guide
In short: a Hydro support who needs only HP: both her buffs and her personal damage depend on it, hence HP on all three pieces. Her Skill summons a horn that periodically hits enemies, heals the team, grants interruption resistance and shreds Cryo and Hydro resistance — and Anemo too while the Stellar Vortex is active.
Stats: HP at least 40,000, ideally 65,000: every 1,000 HP above 40,000 gives the team a flat damage bonus, which caps at 65,000. Energy Recharge is barely needed — teams don't require her Burst — and Elemental Mastery isn't needed at all.
Talents: almost all her value is in the Skill, level it first. The Burst comes after, and don't level Normal Attack.
Partners: in Stellar Swirl — with Vesna or Mizuki, Odette and the Cryo Traveler or Faruzan; in Freeze — with Skirk or Lohen, Escoffier and Furina or Yelan.
Constellations: C2 is a good stopping point: Crit DMG for the active character in Hydro, Cryo and Stellar Swirl. C1 adds ATK for allies, C6 extends the C2 buff to the whole team.